


A demolition contractor pulls onto a site at first light, coffee in hand, with a full day of foundation removal waiting and a tight deadline pressing from every direction.
The temptation is obvious: climb into the cab, fire up the mini excavator, and start swinging before the dew has even lifted off the tracks.
A rushed operator does exactly that and pays for it two hours later when a hydraulic line that was already weeping gives way mid-lift, spraying fluid across the dig and shutting the machine down for the rest of the morning.
A few tables over, another operator spends ten quiet minutes walking the machine, spotting the same seep before it fails, and swaps the line before it ever costs a single hour.
That short routine before the engine turns over is the difference between a day that runs clean and one that unravels, and knowing what to check is what keeps a machine earning rather than sitting idle.
Pre-start maintenance checks on a mini excavator are not busywork but a habit that protects the machine, the operator, and the schedule every single shift.
Doing them well catches small faults before they grow into failures, keeps the equipment running longer, and sends the operator into the day trusting the machine rather than hoping.
Why a Few Minutes Before Startup Pay Off
Prevention is the whole reason a pre-start routine earns its place in the day, because a fault caught in the yard costs a fraction of one discovered under load.
A worn seal, a loose bolt, or a low fluid level spotted before startup takes minutes to address, while the same problem ignored can seize an engine, drop a boom, or strand the machine far from help.
Trading ten quiet minutes for a full shift saved is a bargain no busy operator should pass up.
Longevity of the equipment rewards the operator who checks consistently, since machines run well kept last far beyond those run until something breaks.
Small issues left unwatched compound into major repairs, so the habit of looking closely each morning stretches the service life of the excavator and protects the sizable investment it represents.
A machine that gets a daily once-over simply holds up longer than one that never does.
Safety underpins every reason above, because a mini excavator that fails mid-task threatens the person at the controls and anyone working nearby.
Confirming the brakes hold, the hydraulics are sound, and the structure carries no cracks before the machine moves keeps a mechanical fault from turning into an injury.
Key takeaway: Pre-start checks prevent costly failures, extend the machine's working life, and protect everyone on the site, which is why a few minutes before startup pay off many times over.
Engine and Fluid Level Checks
Fluids are the lifeblood of the machine, so a pre-start routine sensibly begins with the levels that keep the engine alive.
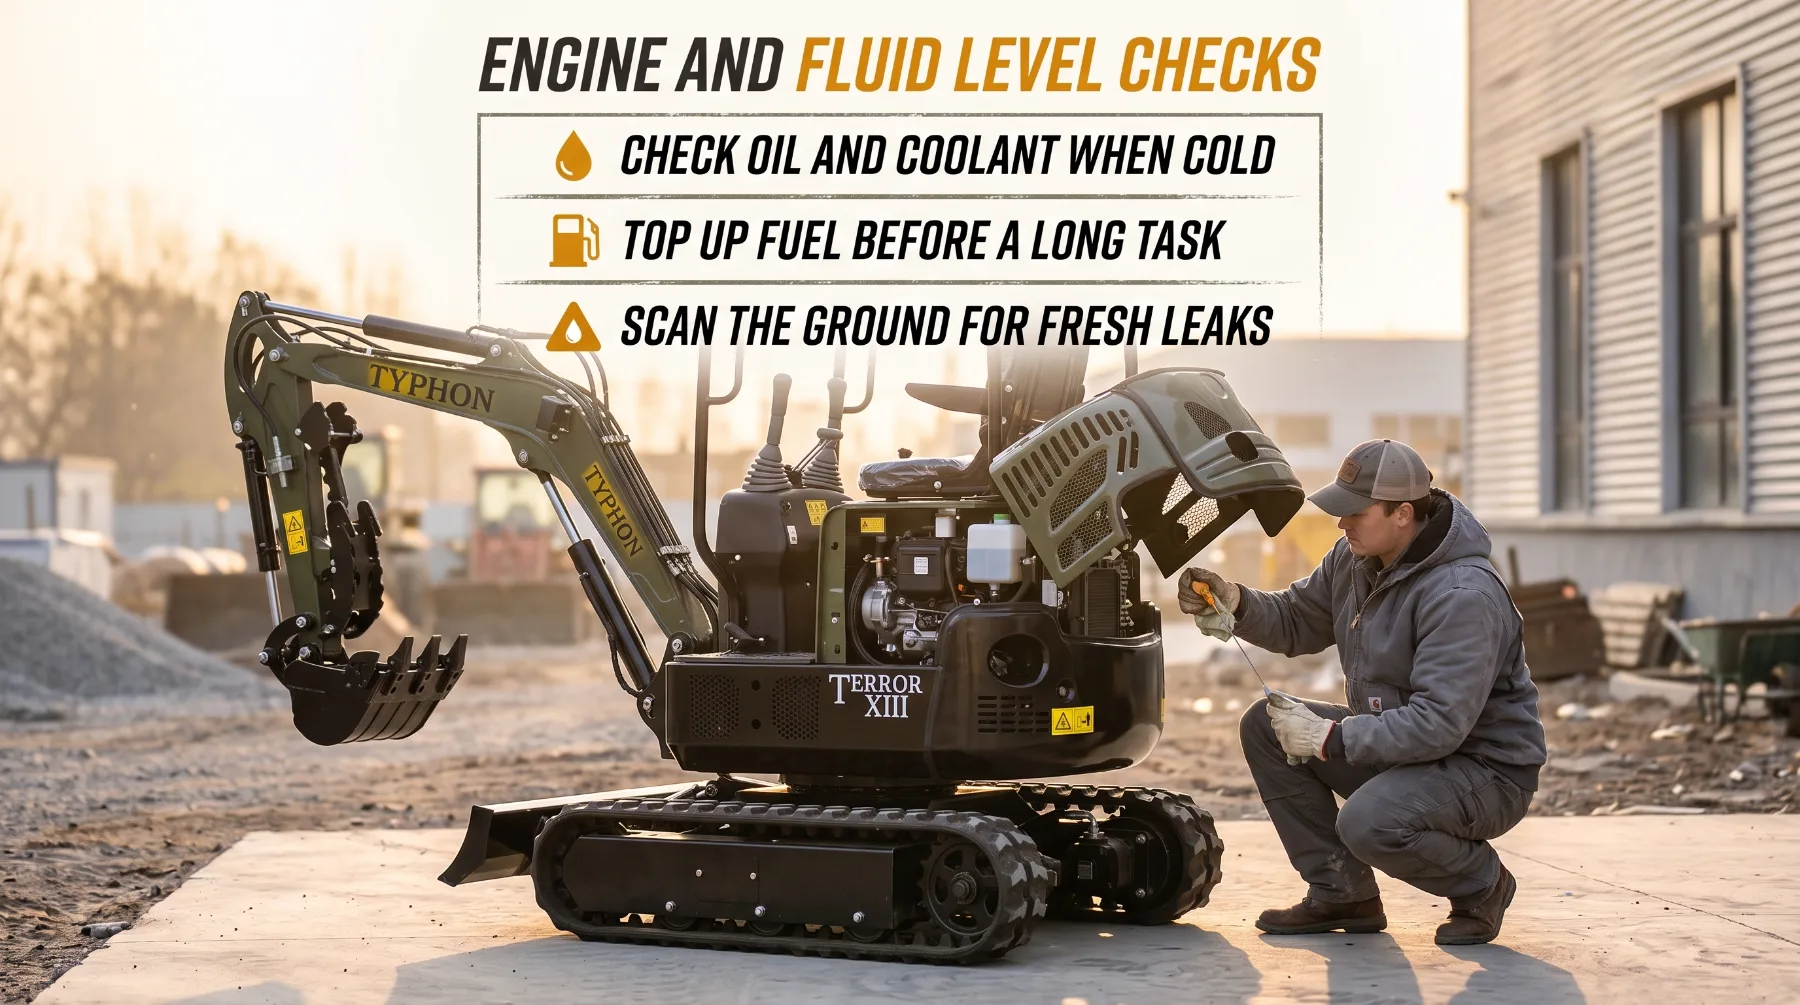
Check the engine oil on a level surface with the machine cold, confirm the coolant sits at its proper mark in the reservoir, and top up the fuel so a long task does not stall halfway through.
Running an engine low on oil or coolant invites the kind of damage that ends a machine's day and sometimes its life.
Leaks tell a story that levels alone cannot, so scan the ground beneath the machine and the surfaces around the engine before anything moves.
Fresh puddles of oil, coolant, or fuel point to a seal or line that needs attention, and catching a slow drip early keeps it from draining a reservoir mid-shift.
A clean patch of ground under a parked excavator is one of the simplest signs that the engine is sound.
Airflow and cleanliness finish the engine check, since a machine that cannot breathe cannot perform.
Inspect the air filter for clogging that would choke the engine and drive up fuel use, clear debris from around the radiator and cooling fins so heat escapes freely, and wipe away any buildup that could hide a developing problem.
What this means: Confirming the oil, coolant, and fuel levels, scanning for leaks, and keeping the air and cooling systems clean send the engine into the shift ready to run without strain.
Hydraulic System Inspection
Power reaches the bucket through the hydraulics, which makes this system the heart of what a mini excavator actually does.
Start by checking the hydraulic fluid level against its gauge or sight glass, since a system running low loses lifting strength and risks damaging the pump that drives every motion.
Fluid at the correct level, clean and free of a milky or burnt look, keeps the machine digging with the force its work demands.
Lines and fittings carry that fluid under tremendous pressure, so give them a careful, deliberate look before the machine goes to work.
Trace the hoses for cracks, bulges, chafing, or the telltale weep of a seal beginning to fail, and confirm every fitting sits tight without the sheen of escaping fluid around it.
A hose that lets go under load sprays hot fluid dangerously and drops whatever the arm was holding, which is exactly the failure this inspection exists to prevent.
Cylinders and their seals deserve the last of your hydraulic attention, because they translate pressure into the movement the operator commands.
Look over the exposed rods for scoring, pitting, or fluid clinging to the surface, and watch for a cylinder that drifts down on its own, which signals a seal no longer holding.
Key takeaway: Checking the hydraulic fluid, inspecting the lines and fittings, and examining the cylinders confirm the system that powers every dig is sound before the arm ever moves.
Undercarriage and Track Checks
Ground contact happens entirely through the undercarriage, so this often-neglected area deserves a genuine look each morning.
Clear packed mud, rocks, and debris from between the tracks, the rollers, and the sprockets, since built-up material accelerates wear and can throw a track under load.
A clean undercarriage runs smoother, lasts longer, and gives the operator an honest view of the components underneath.
Tension in the tracks governs how the machine moves and how quickly its parts wear, making it a check worth doing right.
Confirm the track tension matches the manufacturer's specification, since a track run too loose can derail during a turn while one run too tight strains the rollers and sprockets and wastes engine power.
Feeling the sag at the correct point along the track tells you quickly whether the tension sits where it belongs.
Wear across the undercarriage components rounds out the inspection, because these parts carry the whole weight of the machine through every hour of work.
Examine the rubber tracks or steel pads for cracks, missing lugs, and uneven wear, then check the rollers, idlers, and sprocket teeth for the rounding and grooving that signal a component nearing the end of its life.
What this means: Clearing debris, setting proper track tension, and inspecting the tracks and rollers for wear keep the undercarriage carrying the machine reliably across the ground it works.
Boom, Arm, and Attachment Inspection
Structure bears the forces of every dig, so the boom and arm warrant a close look before they take up a load.
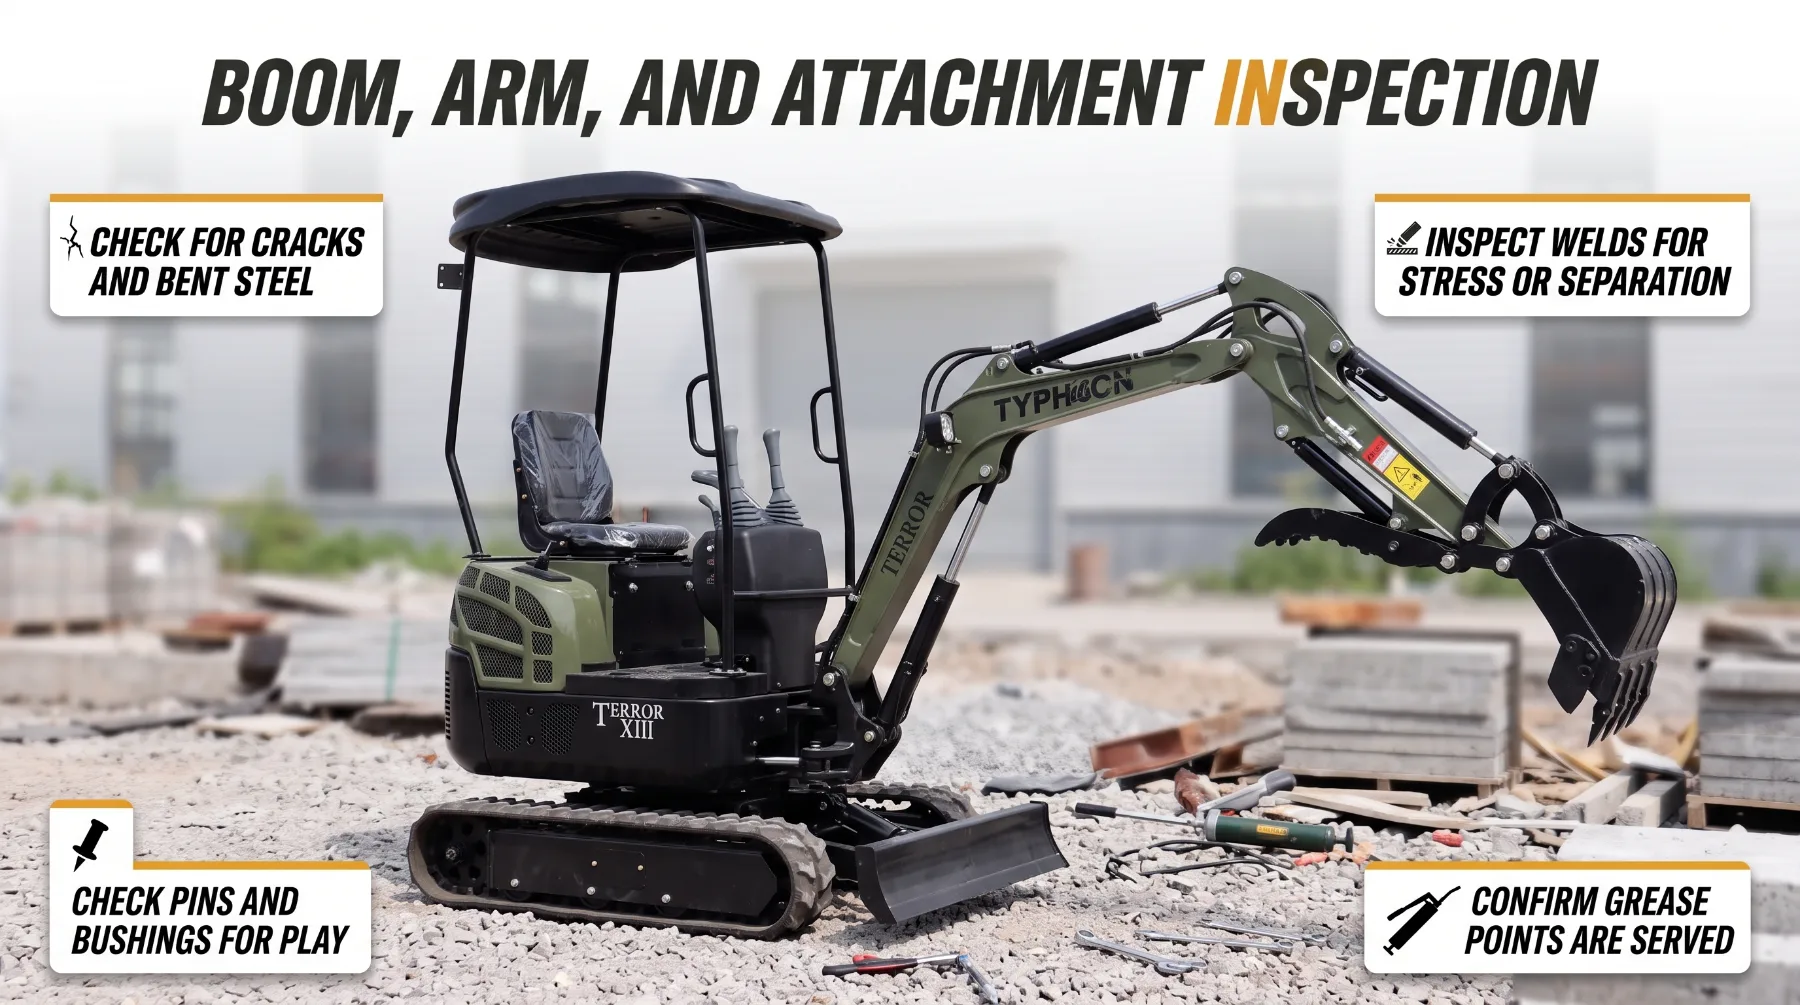
Walk the length of both, watching for cracks in the steel, bends that suggest past overloading, and any weld that shows signs of stress or separation.
A structural crack that goes unnoticed only grows under the strain of work, so finding it in the yard beats discovering it when the arm fails mid-lift.
Pins and bushings connect the moving pieces and wear steadily under constant motion, which makes them a natural next stop.
Check each pivot point for excessive play by watching how the joints move, listen for the knocking that loose pins produce, and confirm the grease points have been served so the connections move freely rather than grinding themselves out.
Well-greased, tight joints keep the arm precise and spare the expensive repairs that neglected pins invite.
Attachments earn their own scrutiny, since the bucket or tool doing the work must be sound and securely mounted.
Inspect the bucket for cracks, worn or missing teeth, and a cutting edge that has dulled past usefulness, then confirm the quick coupler or mounting pins lock the attachment firmly in place with no dangerous slack.
Key takeaway: Examining the boom and arm for cracks, checking the pins and bushings for wear, and confirming the attachment is sound and secure keep the working end of the machine strong and safe under load.
Cab Controls and Safety Systems Check
Command of the machine runs through the cab, so the final check belongs to the controls and safety features the operator relies on every second of the shift.
Settle into the seat and run the joysticks, pedals, and levers through their range, confirming each responds smoothly and returns to neutral without sticking or lag.
Controls that answer crisply keep the operator in genuine command, while sluggish or erratic ones turn a routine motion into a hazard.
Visibility and warnings let the operator work safely among people and obstacles, which makes them worth a deliberate test.
Clean the cab glass so nothing clouds the view, adjust the mirrors to cover the machine's sides and rear, and confirm the lights, horn, backup alarm, and any warning indicators all work as they should.
These systems let the operator see the site and let the site hear the machine, closing gaps that direct sight alone leaves open.
Restraints and shutoffs form the last line of protection, so end the routine by confirming they stand ready.
Check that the seatbelt latches firmly, the safety lock lever disables the controls when raised, and the emergency shutoff responds if it is ever needed, then review the gauges for any warning light lingering after startup.
What this means: Testing the controls, confirming visibility and warning devices, and checking the restraints and shutoffs put a responsive, safe machine under the operator before the first task begins.
Conclusion
Pre-start maintenance checks on a mini excavator come together as a short, repeatable routine that protects the machine and everyone near it, and the whole picture holds once you work through each part in order.
Begin by recognizing why a few minutes before startup pay off, then check the engine and fluid levels so the machine runs without strain, and inspect the hydraulic system that powers every dig.
Move under the machine to clear and examine the undercarriage and tracks, look over the boom, arm, and attachment for cracks, wear, and secure mounting, and finish in the cab by testing the controls and safety systems the operator depends on.
Follow that sequence each morning, and small faults surface in the yard where they cost minutes rather than in the trench where they cost a day.
Before your next shift, set aside ten quiet minutes to walk the machine, confirm the fluids and hydraulics, and test the controls so the excavator performs from the first dig.
When you're ready to put a dependable mini excavator to work, or need help sourcing the right parts and service to keep the one you own running, reach out to a trusted equipment specialist who can match reliable support to the results your work depends on.
Frequently Asked Questions
Why do I need to check my mini excavator before every shift?
Because a fault caught in the yard costs far less than one discovered under load.
A worn seal, a loose bolt, or a low fluid level takes minutes to fix before startup, while the same problem ignored can seize the engine, drop the boom, or strand the machine mid-task.
Consistent pre-start checks also stretch the service life of the equipment, since small issues left unwatched compound into major repairs.
Just as important, confirming the brakes, hydraulics, and structure are sound before the machine moves keeps a mechanical fault from turning into an injury on the site.
What are the most important fluids to check before starting?
Start with the engine oil, checked on level ground with the machine cold, and confirm the coolant sits at its proper mark so the engine neither runs dry nor overheats.
Check the hydraulic fluid next, since a low level robs the machine of lifting strength and risks the pump, and confirm it looks clean rather than milky or burnt.
Top up the fuel so a long task does not stall partway through.
While checking levels, scan the ground and engine surfaces for fresh oil, coolant, or fuel, since a puddle points to a leak worth catching before it drains a reservoir.
How long should a proper pre-start inspection take?
Usually about ten minutes once the routine becomes habit.
That is enough time to check the fluid levels, scan for leaks, inspect the hydraulic lines and cylinders, clear and examine the undercarriage, look over the boom, arm, and attachment, and test the cab controls and safety systems.
The first few times may run longer as you learn what to look for, but the sequence quickly becomes second nature.
Those minutes are a small price against the hours a mid-shift failure can cost, and they send you into the day trusting the machine rather than hoping it holds.
Equipment Guidance
Need help choosing equipment for your next job?
Contact KONSTRUCTZ support and get practical guidance before comparing machines, attachments, or jobsite requirements.Contact SupportReader Comments
Join the equipment discussion
Related Posts
No published comments yet.